

GARAGE DOOR SAFETY MONTH | DIY CHECKLIST
Your 5-Minute Garage Door Safety Check — No Tools Required
May is Garage Door Safety Month, and your garage door deserves five minutes of your attention. It's the largest moving mechanical object in your home, and it works so reliably most of the time that it rarely gets a second look.
This checklist covers the checks any homeowner can safely do from the ground — no ladders, no wrenches, no prior experience needed. Work through it top to bottom, print it out, stick it on the wall of your garage. Do it once a year and your door will thank you.
904-584-4828Before you start: Never touch springs, cables, or the torsion bar above your door. These components are under extreme tension. Everything on this list is safe to check from the floor — anything beyond that is a job for a technician.
The Checklist
Print this page and work through each section. Check the box when you're done.
| ☑️ | Check | What to Look (and Listen) For |
| Safety Tests — Do These First | ||
|---|---|---|
| ☑️ | Auto-Reverse Test | Lay a 2x4 flat on the ground in the door's path. Press close. The door should stop and reverse the moment it touches the board. If it doesn't, stop using the door and call a technician. |
| ☑️ | Photo-Eye Sensor Test | While the door is closing, slowly wave your hand through the sensor beam at floor level. The door should immediately reverse. If not, check that the sensors are clean and pointing directly at each other. |
| ☑️ | Balance Test | Pull the red emergency release cord to disconnect the opener. Lift the door manually to waist height and let go. It should stay put — not drift up or drop. A door that moves on its own has a spring tension problem. |
| Visual Checks — Eyes Only, Stay on the Ground | ||
| ☑️ | Check the Torsion Spring | Look at the horizontal spring above your door. Any visible gap in the coil means it's broken. Do not operate the door. Call for repair. |
| ☑️ | Check the Cables | Look at the steel cables running from the bottom corners up to the drum at each end of the spring bar. They should be taut, straight, and unfrayed. Frayed or kinked cables need immediate replacement. |
| ☑️ | Check the Rollers | Look at each roller where it rides in the track. Cracked, wobbly, or visibly worn rollers are noisy and put extra strain on the opener. Nylon rollers should show no cracking. |
| ☑️ | Check the Tracks | Scan the vertical tracks on each side. Look for dents, bends, or gaps between the track and the wall bracket. Minor debris can be wiped away with a rag — bent tracks need a technician. |
| ☑️ | Check the Bottom Seal | Look at the rubber seal along the bottom edge of the door. It should be flexible and contact the floor evenly. Cracked, brittle, or missing sections let in water, pests, and Florida humidity. |
| ☑️ | Check the Weatherstripping | Look at the seals along the sides and top of the door frame. They should be snug against the door with no visible gaps. Damaged stripping is a quick and inexpensive fix. |
| Listen — Run the Door and Pay Attention | ||
| ☑️ | Listen for Grinding | Run the door up and down. Grinding usually means dry or worn rollers or a track obstruction. Lubricate rollers with white lithium grease (not WD-40) and retest. |
| ☑️ | Listen for Popping or Squealing | Squealing often means dry hinges or springs. A popping sound can indicate a hinge under stress. Both are worth lubricating first — if the noise continues, a tech should take a look. |
| ☑️ | Listen for Straining | If the opener sounds like it's working unusually hard — motor laboring, slow movement — that's often a spring tension issue or an opener that's undersized for the door. Don't ignore it. |
| Hardware — A Quick Once-Over | ||
| ☑️ | Check Sensor Lights | The photo-eye sensors at the base of each track should have solid indicator lights — typically one green, one amber. Blinking or off means misalignment or a wiring issue. |
| ☑️ | Test the Wall Button | Press the wall-mounted button inside the garage. The door should respond immediately. If it's sluggish or unresponsive while the remote works fine, check the button's wiring connection. |
| ☑️ | Test the Remote | Stand at the end of your driveway and test the remote. It should work reliably at full range. If you need to be within a few feet to get a response, check your opener's light bulb — standard LED bulbs can jam the signal. |
| ☑️ | Test the Keypad | Enter your code and confirm the door responds. If the backlight is dim or buttons require extra pressure, replace the battery (usually a 9V). While you're at it, wipe the keypad with a dry cloth — Florida humidity and bugs get into the gaps. |
| ☑️ | Test the Emergency Release | With the door fully closed, pull the red cord firmly downward. You should feel a click as the door disconnects from the opener. Re-engage by pulling the cord back toward the opener unit, then run the opener to reconnect. |
All clear? Great — you're heading into hurricane season with a door you know is safe.
Found something? Don't wait. Most issues get more expensive the longer they sit.
What This Checklist Doesn't Cover
The checks above are designed to be safe for any homeowner. But there's a layer of inspection that requires a trained technician — and that's where WagMore's Safe & Sound 16-Point Diagnostic comes in.
A professional visit goes hands-on with spring wire gauge and coil condition, cable attachment hardware at the drum and bottom bracket, opener force calibration and auto-reverse sensitivity, track plumb and alignment, and hardware torque on hinges and brackets — the stuff that tells you how much life is left in the system, not just whether it's working today.
It's complimentary, it takes about 25-30 minutes, and it leaves you with a clear picture of exactly where your door stands. No pressure, no upsell — just a straight answer.
904-584-4828Found Something on Your Checklist?
WagMore's Safe & Sound 16-Point Diagnostic goes deeper than any DIY check — and it's complimentary.


Garage Door Problems?
We turn "Uh-Oh" into
"ALL GOOD"
Is your garage door acting up? Don't worry, we've got you covered! Our expert technicians are here to diagnose and fix any garage door issues you may be experiencing. From broken springs to malfunctioning openers, the most likable techs you will ever meet will handle it all with precision and care.
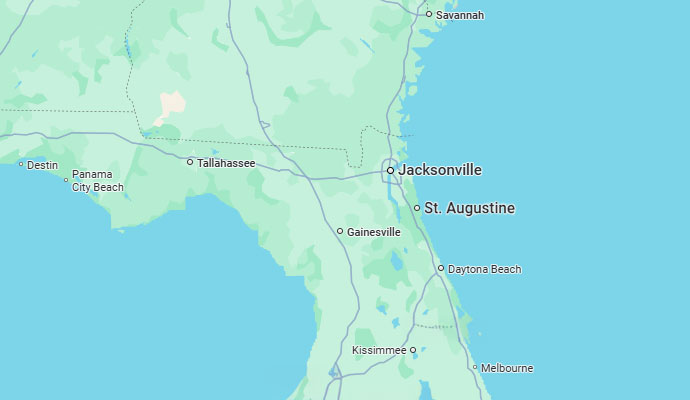
Service Area
- Atlantic Beach
- Bartram Park
- Doctors Inlet
- Eagle Harbor
- Elkton
- Fleming Island
- Fleming Island Plantation
- Fruit Cove
- Green Cove Springs
- Hastings
- Jacksonville
- Jacksonville Beach
- Julington Creek Plantation
- Keystone Heights
- Lake Geneva
- Middleburg
- Neptune Beach
- Nocatee
- Oakleaf Plantation
- Orange Park
- Palm Coast
- Penney Farms
- Ponte Vedra
- Ponte Vedra Beach
- River Town
- Saint Augustine
- Saint Johns
- Sawgrass
- World Golf Village